When I am using any Linux operating system I find that I am constantly needing to go to the terminal to do something. Many of the things that I show you how to do using a graphical tool, I often find it faster to do by using the terminal to run commands. Often times the slowest part of a task is actually opening up the terminal to run the command. In this tutorial I will show you how to install Guake which is a floating terminal that is open all the time in the background to make it quicker to access the terminal.
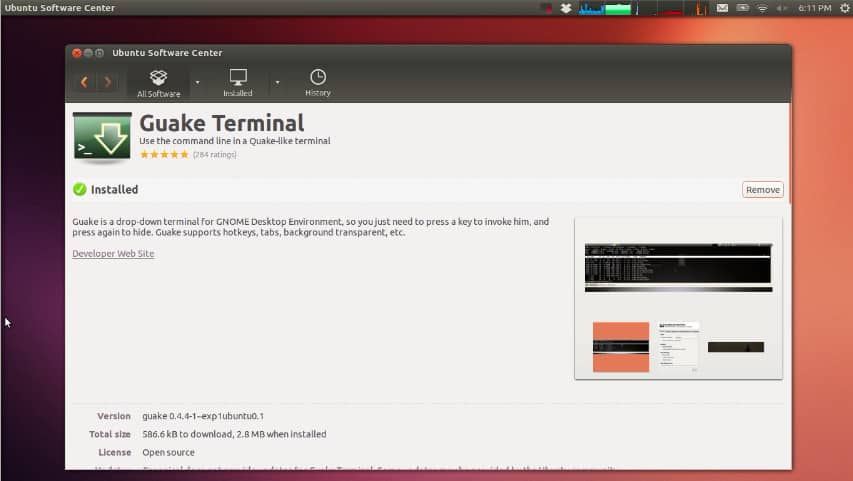
The first step to install Guake is to go to the Ubuntu Software Center and find “Guake Terminal”. Once you have found it you will need to click on Install as shown below.

You will then be asked to enter your user password. Once you have done this Guake Terminal will be installed as shown below.
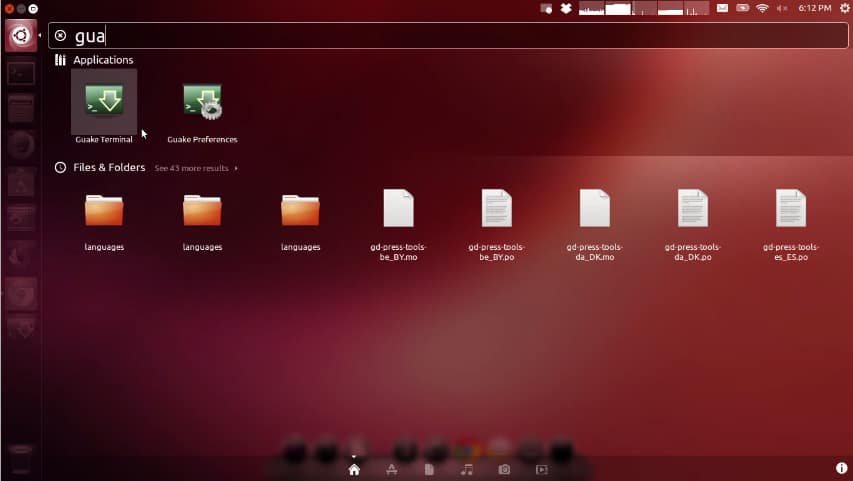
Once Guake has been installed you can go to the Dash Launcher and search for “guake”. You will find the Guake preferences so that you can modify the colors of your floating terminal. You can also run the Guake Terminal.
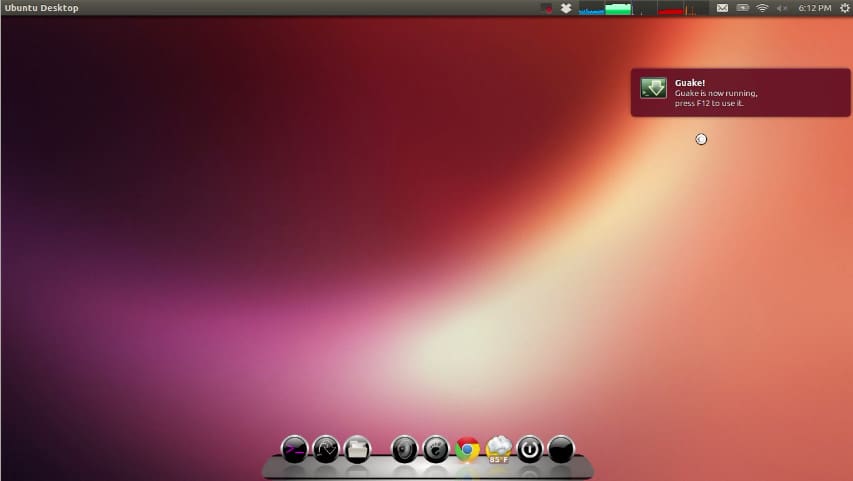
When you run the Guake Terminal a notification will pop up stating that you should hit F12 to access the Guake Terminal as shown below.
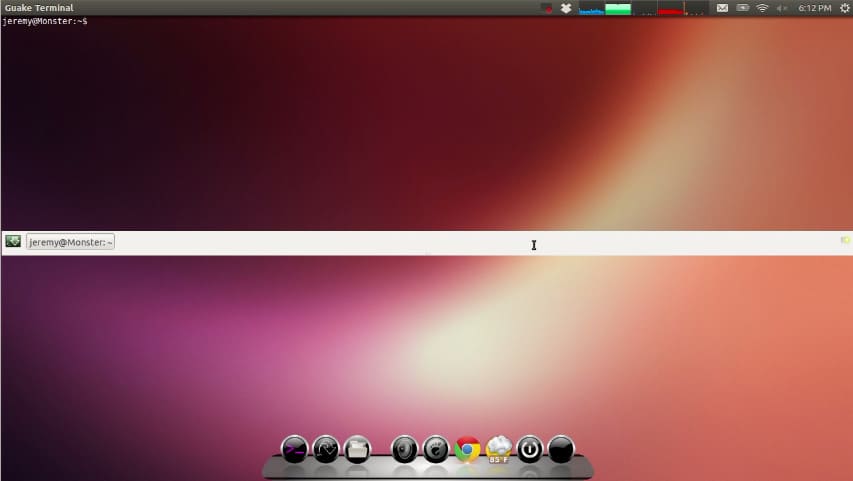
Whenu press the F12 key the floating terminal will appear as shown below.